Updating Asset Booker
Update Process
- Open ‘Power Apps’ in Teams and locate the environment where the application is installed. Click on the Teams environment from the list on the left, then click See all as highlighted below.

- Click on the Import option along the top and then Import solution.

- Browse to locate the installation file (which should be a zip file e.g. AssetBookerV7.80-23OCT23.zip) and then click Next.
- All required items will be loaded and pre-selected.
Click Next.
- If any required connection references are missing, you may be prompted to create new connections. Please follow the instructions here (Import and install Asset Booker – Part 8) to add them.
Once added, click on import. - You will notice a notification across the top whilst the application is being updated.
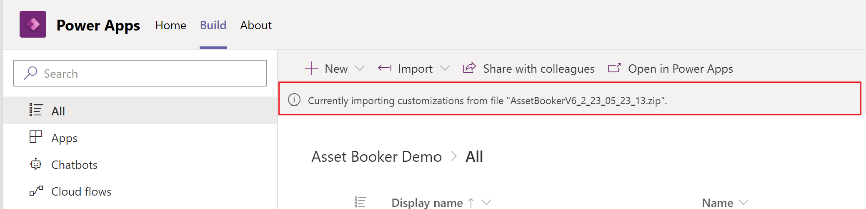
- Wait until this notification turns green, which could take approximately 5 minutes.
Please note, in some cases it could take anything up to 20-40 minute
In some cases, you may see the notification in yellow – please do not worry as the installation has been successful.

- The next step is to remove any unnecessary ‘Cloud Flows.’ Simply click on ‘Cloud Flows’ in the list and delete any flows not listed below.
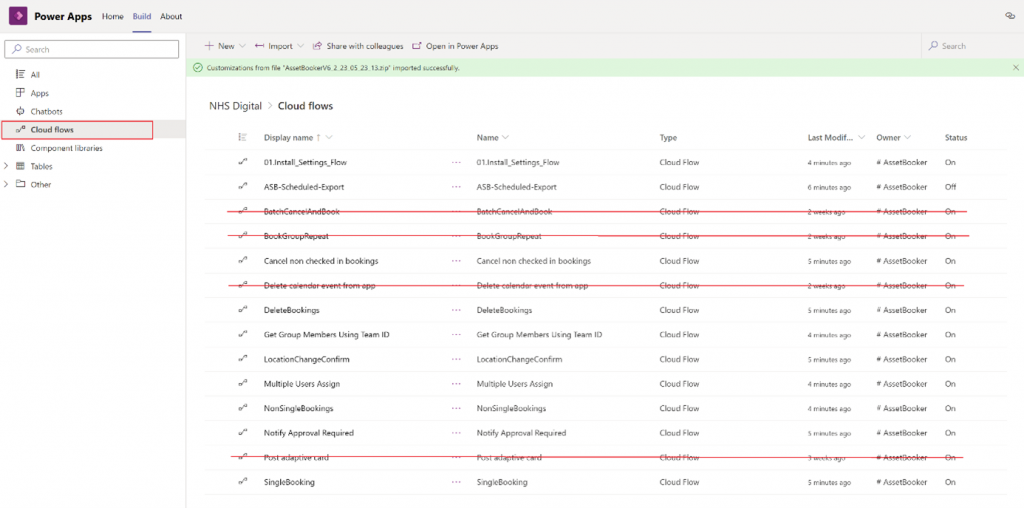
If you previously had version 5 (or before) of the Asset Booker, you may have the 4 extra flows shown above with strikes. To remove them, click on the three dots next to each flow and select ‘Delete.’
You should end up with a total of 10 cloud flows.
- At this stage, if you have made changes to the configuration settings, please create backups as per the prerequisite above.
- Click on the link – ‘01.Install_Settings_Flow’ and follow the same instructions as displayed on the installation guide, part 4-5.After around 40 seconds, click the refresh icon until you see a succeeded notification.

- If you click on Apps from the list on the left, you will notice there are now two separate apps.
- 🖥️ = Desktop version
- 📱 = Mobile version
- Click on the Asset Booker 🖥️ and wait for it to load up to the following:

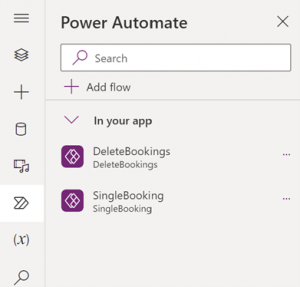
Click on the ‘Power Automate’ icon on the left-hand side as indicated above.
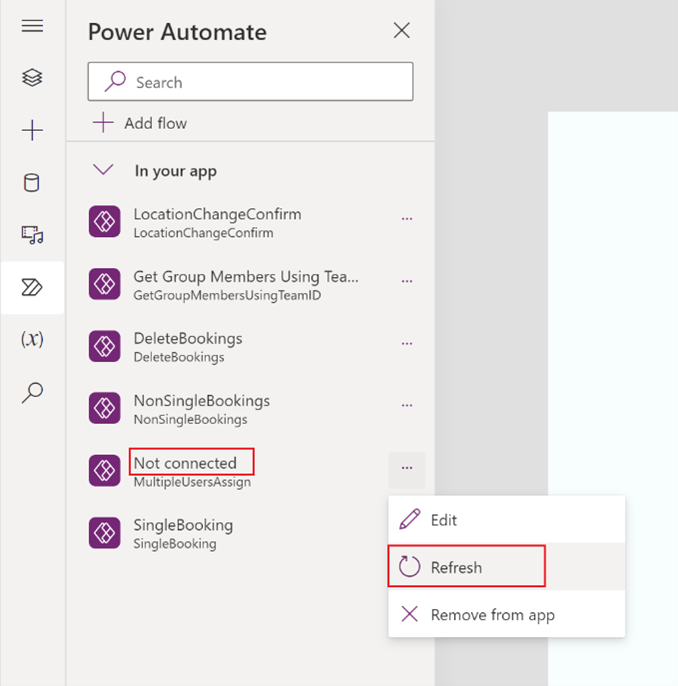
- Check the list of flows, you may find that one or more of these appear as Not connected.
- If this is the case, for each one which is not connected, click on the three dots and select ‘Refresh’.There should be 6 flows as shown below.
There should be 6 flows as shown below.
- You can now click on the ‘Publish’ icon along the top right of the screen.

- Click Next.

- If you see ‘0 active tabs’, (below says 1 active tab), click the ‘+’ icon and then Save and close.

- Click on ‘Back’.

- Please repeat the same for the other application, Asset Booker 📱However, for this application, only the following two flows are needed.